I want to share with you the story of my creative journey and how I grew into the artist and the business owner that I am today.
The early years
My name is Angèle Kamp, I was born in 1980 and I live in the Netherlands with my husband and our two young boys.
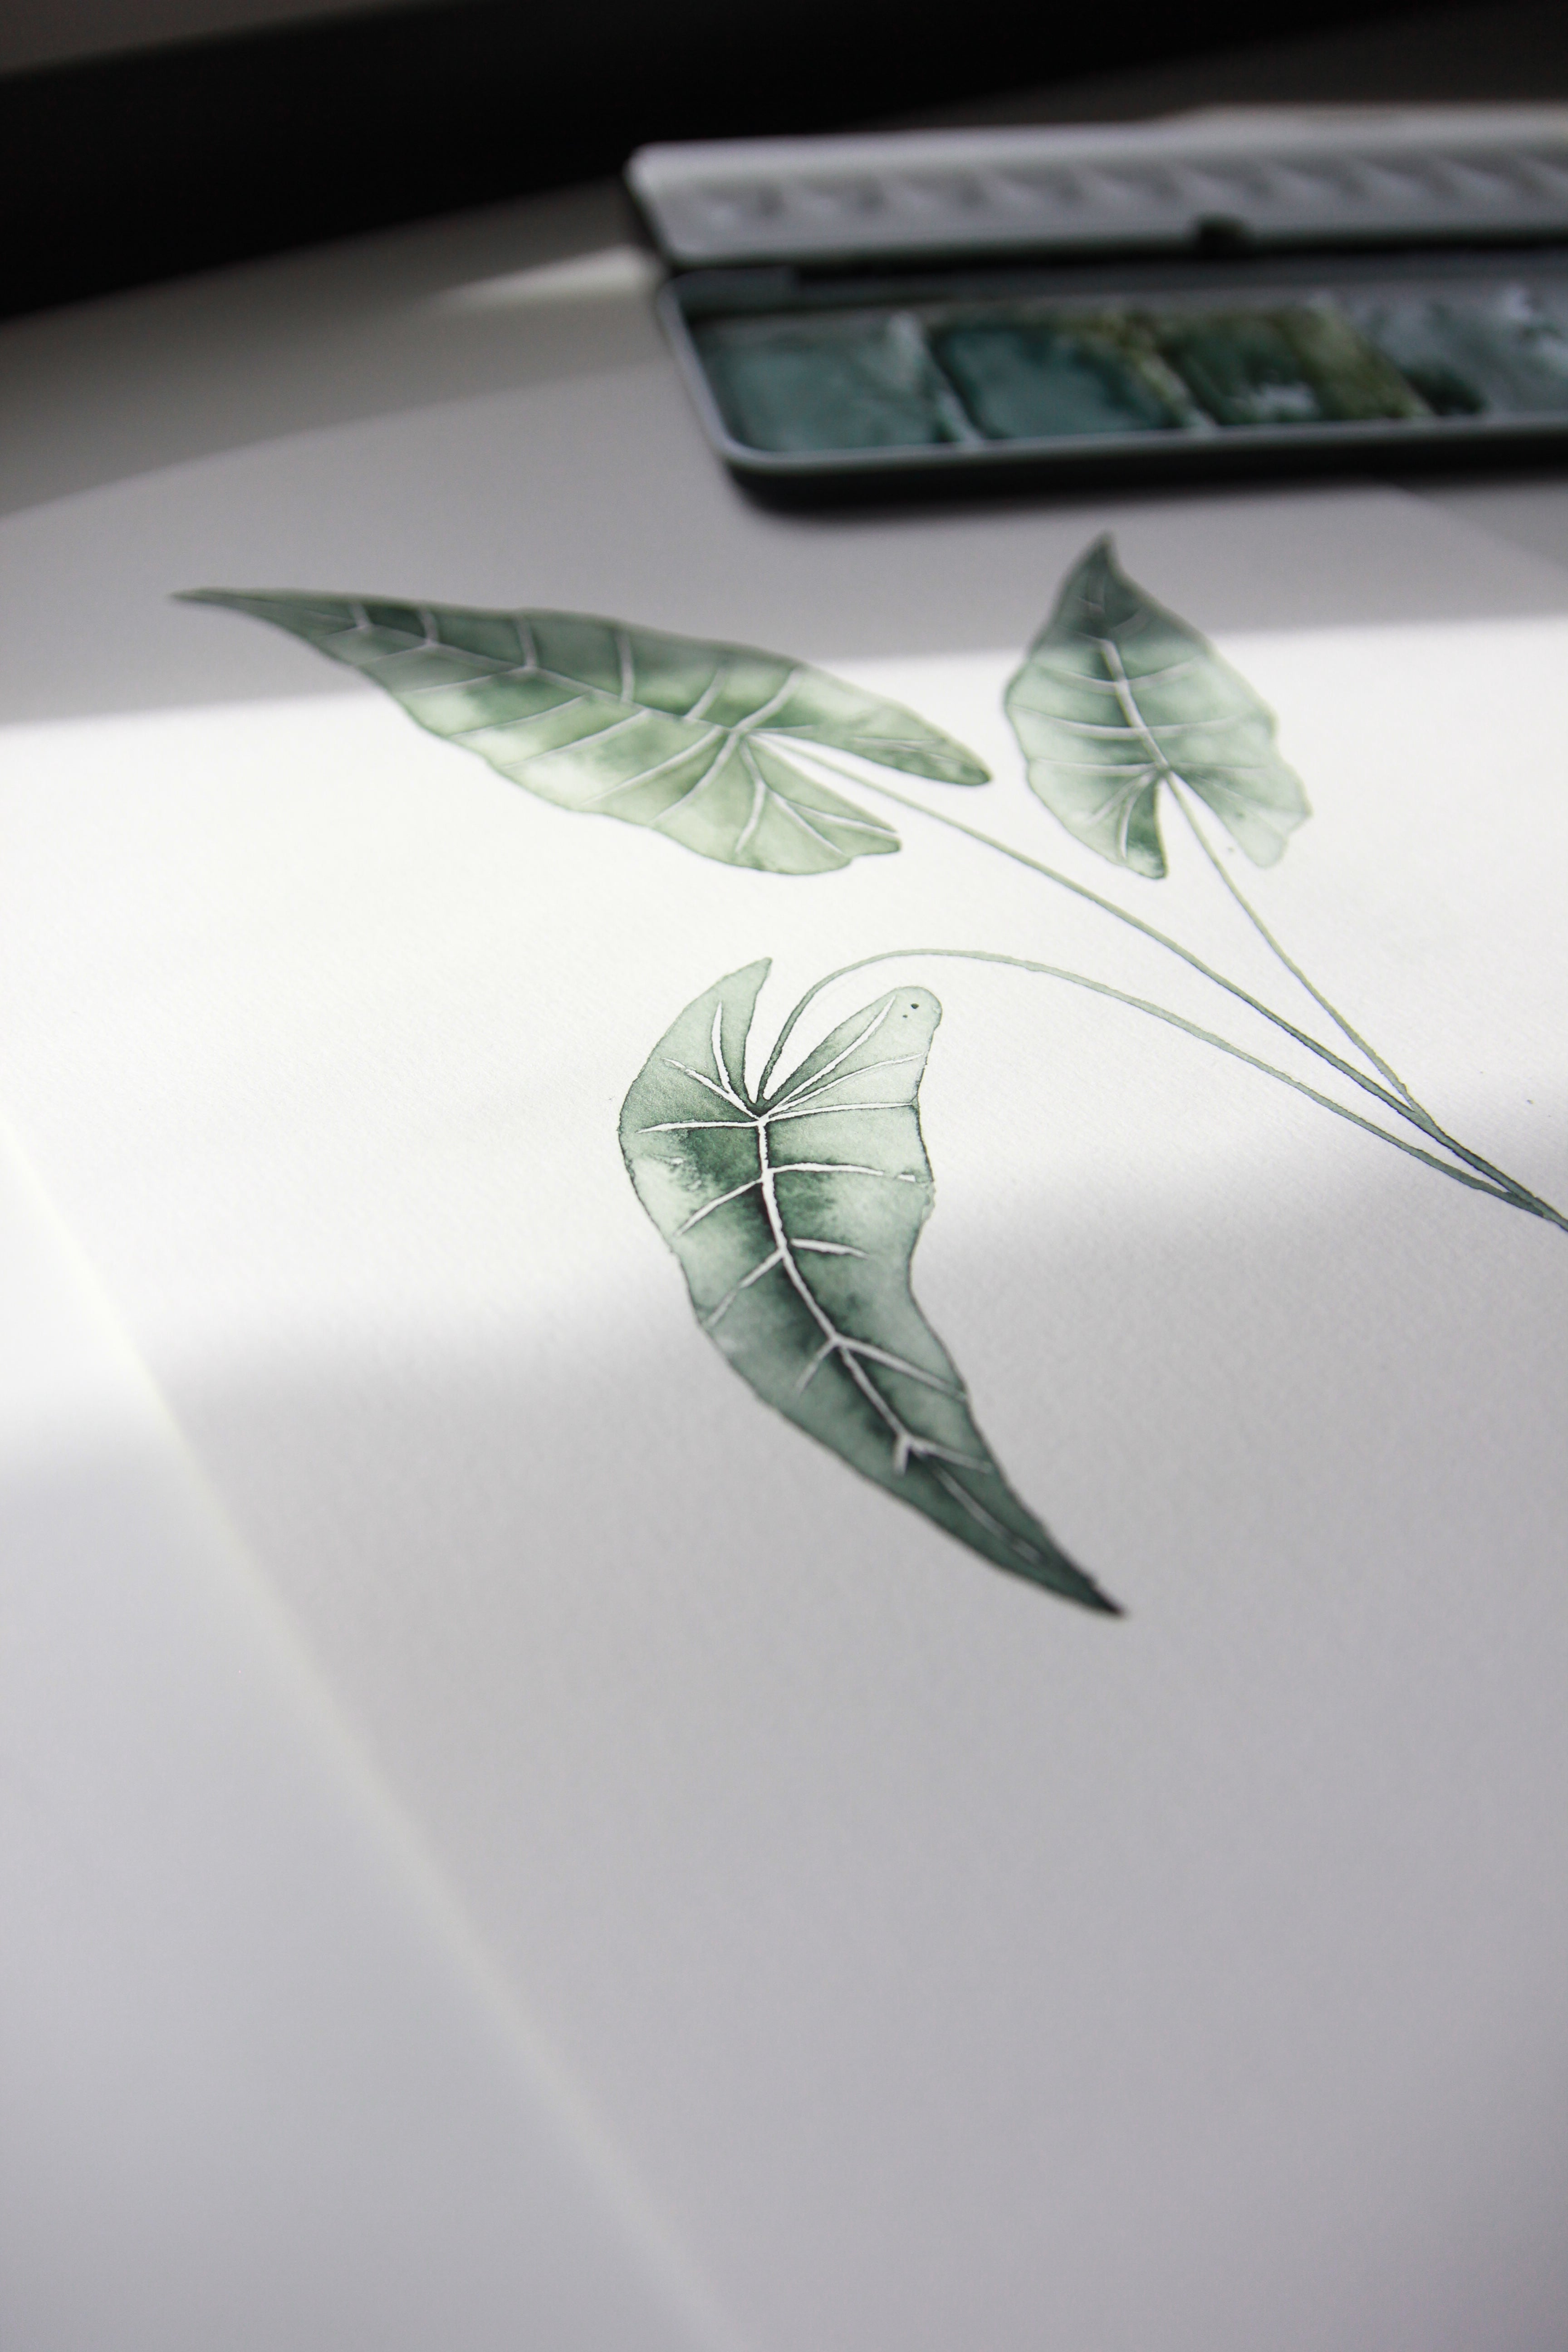
I grew up in a big family of 14 kids and our home was always busy and vibrant. My mom, who is an artist, was always creating art projects for us when we were little and she taught me all of the basic art skills on watercolors, shading, and lettering.
In the year 2000 I enrolled in Graphic Design School, I was 20 years old at the time and design school instantly felt like home. This is what I was missing in my life and I knew that this is what I wanted to do with my talent.
My first job
In 2005, I got a full-time job at a publisher. This job taught me all there was to know about printing, designing magazines, creating logos, branding and designing websites.
When my first son was born in 2009 I cut back to working two days a week. This meant I had plenty of time to be creative. I tried many things throughout the years. One day I wanted to be a blogger or a food photographer and the next I wanted to be a wedding photographer. I also had a webshop where I sold diaper cakes and handmade goodies with my sister but none of these were a success.
Time to quit
In 2012 I started my first webshop selling social media icons and blog templates and I took on small custom graphic design jobs. I made a nice amount of side earnings but it was nowhere near enough to quit my day job.
After nearly 10 years of working at the office, it was time for a change. My heart wasn’t in it and even though I had no idea what I was going to do, I knew I needed to quit that job.
My big break
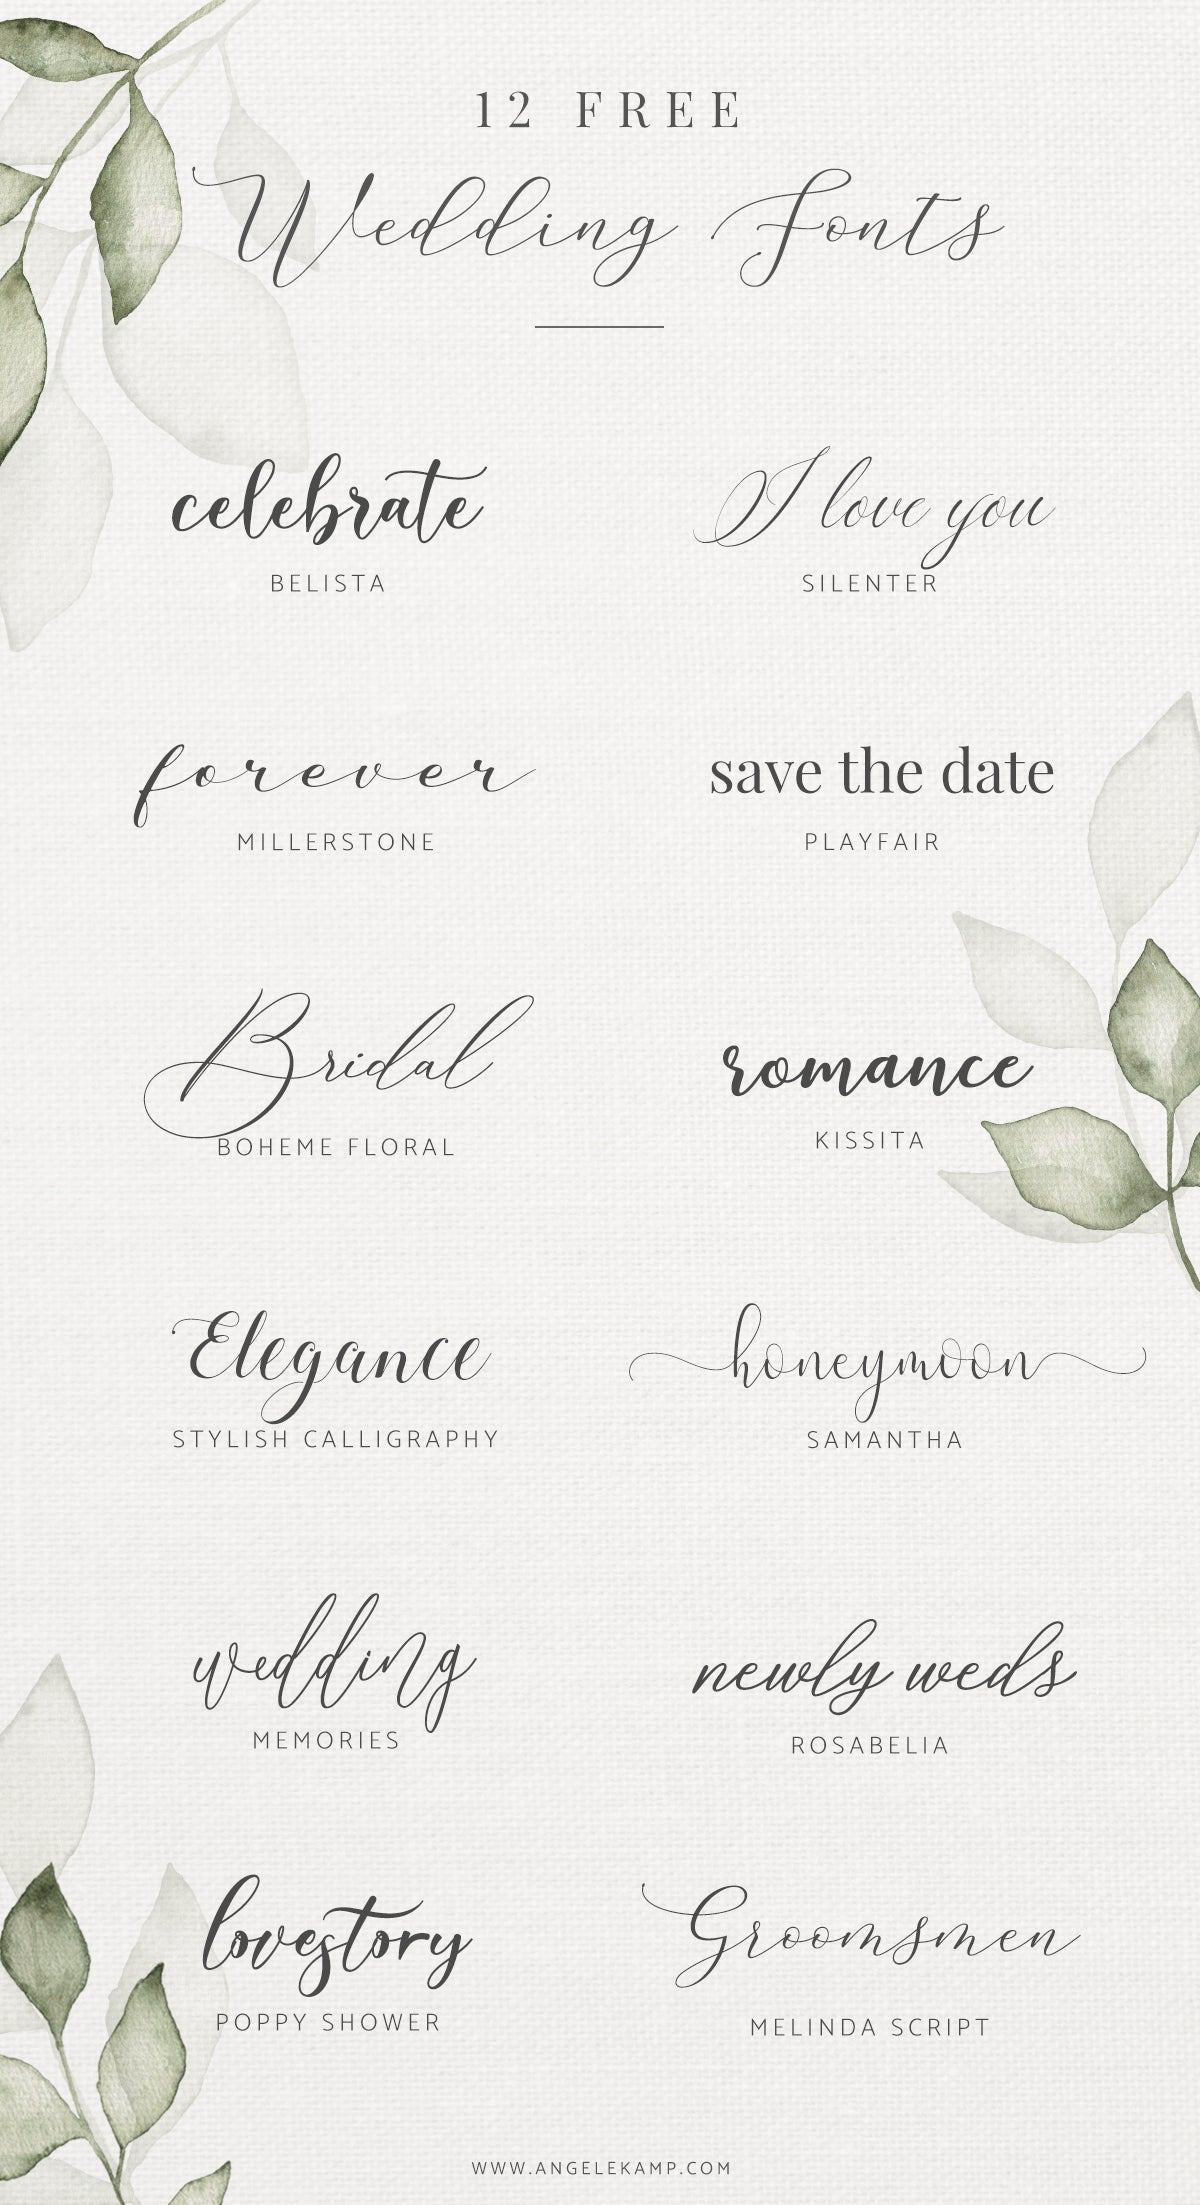
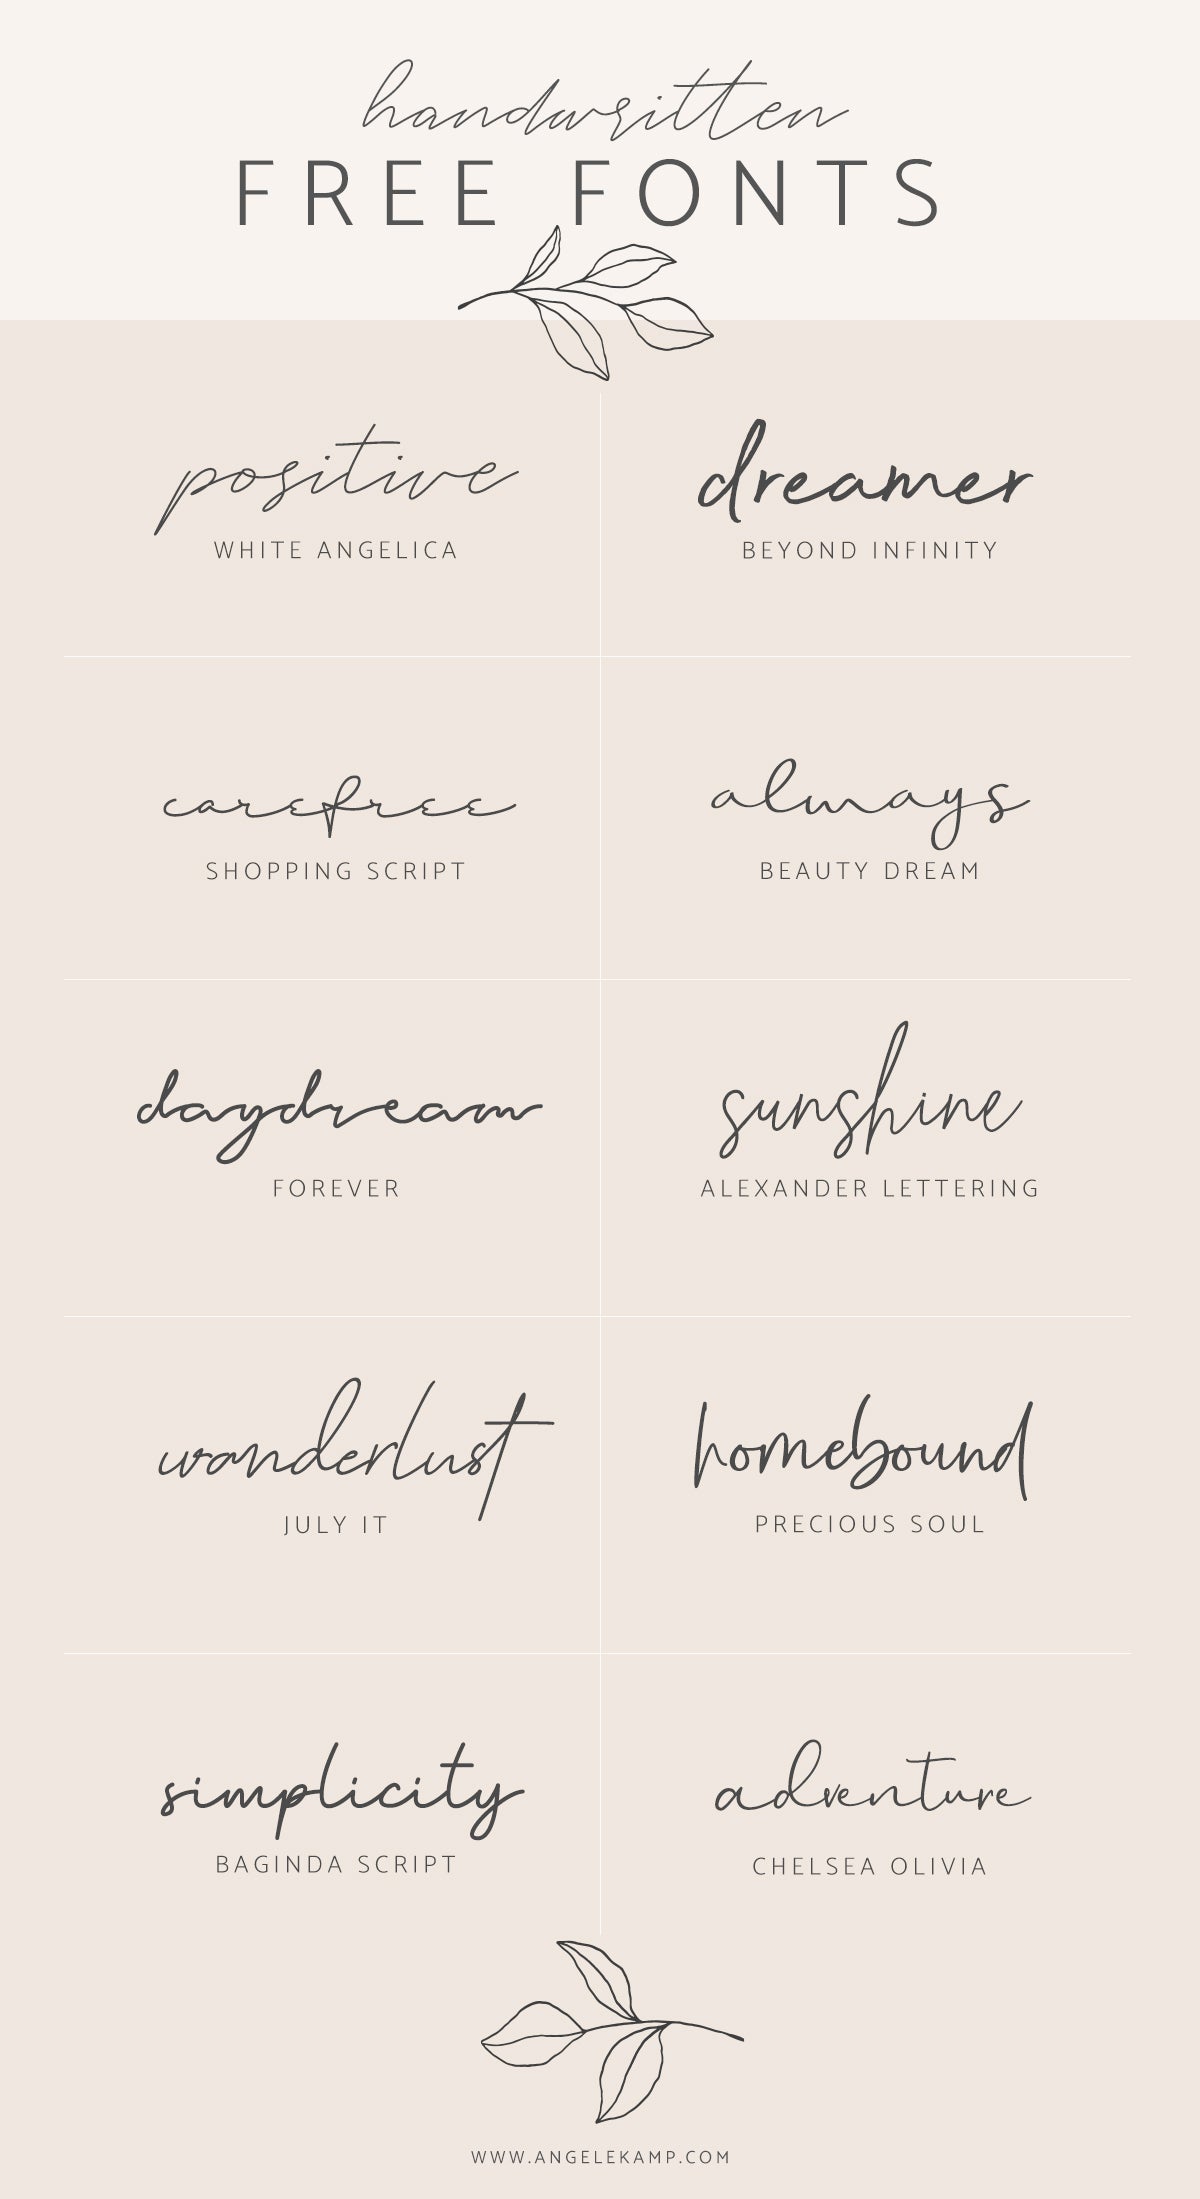
My big break came in 2016 when I created my first font. I opened up an Etsy & a Creative Market shop and they both became an instant success. To some, this may have seemed like an overnight success but they do not see all the years of trying and failing. All the years of finding my way and trying all the things.
Creative business
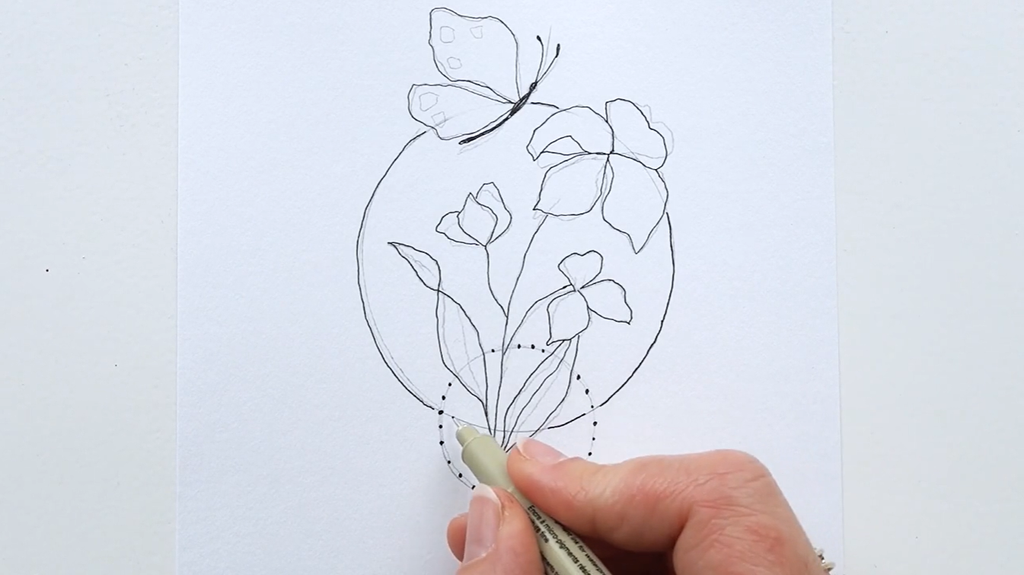
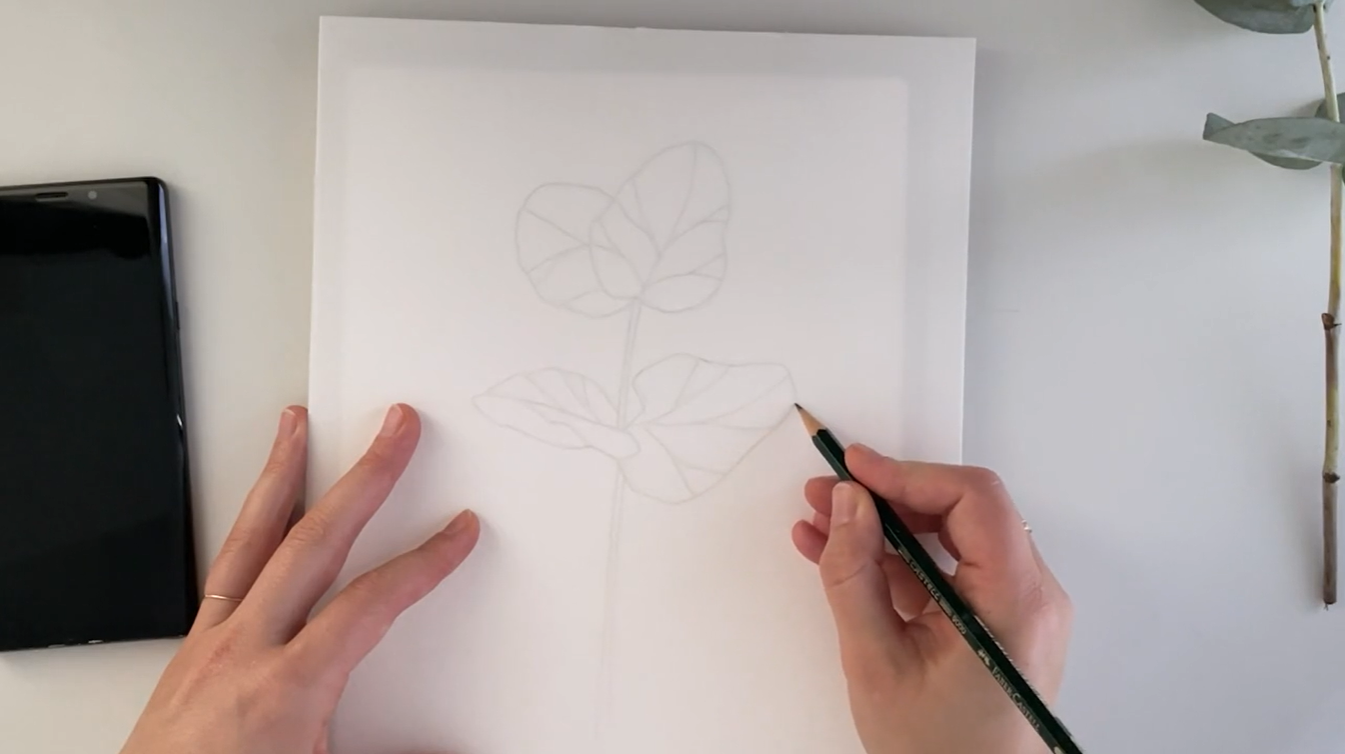
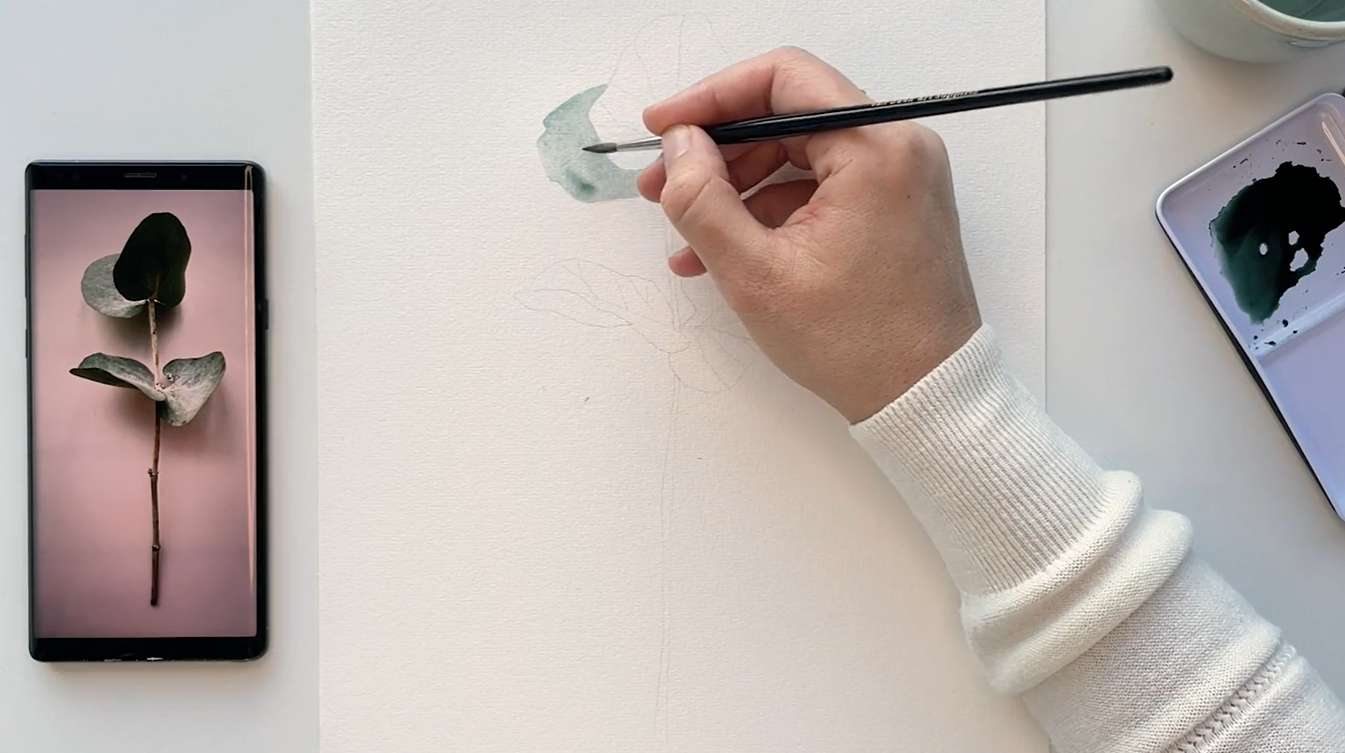
Throughout the years I have grown into becoming a full-time artist, graphic designer, and teacher. I have branched out into watercolor art, illustrations & pattern design & teaching tutorials and courses.
My business has grown beyond my imagination and bloomed into a successful thriving business.
Being able to create and teach every day puts a smile on my face. And being able to share my work with the world and help other creatives do the same is what brings me so much joy.
XO Angèle
]]>


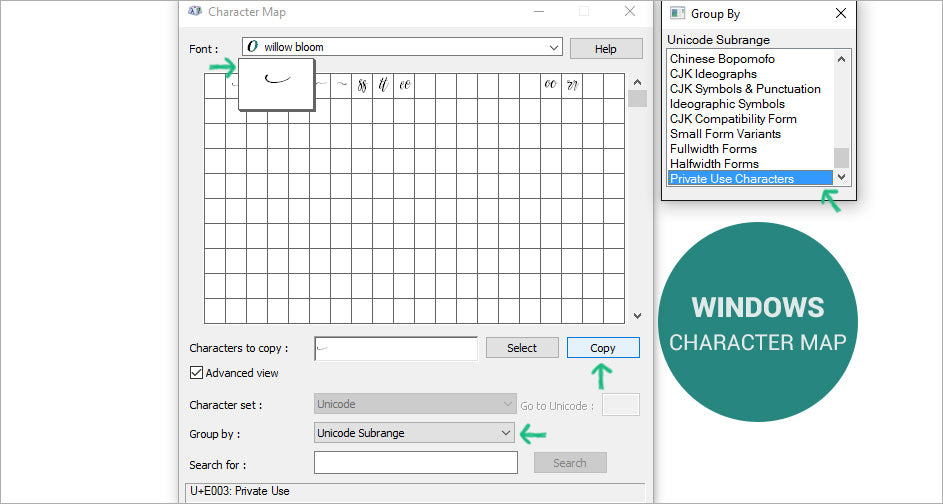


 Here's how to turn on the kerning feature in Word. I am using my font Willow Bloom as an example.
1. Select the text you want to kern. Click ctrl+D or click on the little arrow to the bottom right in the font settings. Word will open up the Font dialog box.
2. Check the box next to 'kerning for fonts'
3. Click 'ok' and you're done!
Here's how to turn on the kerning feature in Word. I am using my font Willow Bloom as an example.
1. Select the text you want to kern. Click ctrl+D or click on the little arrow to the bottom right in the font settings. Word will open up the Font dialog box.
2. Check the box next to 'kerning for fonts'
3. Click 'ok' and you're done!

